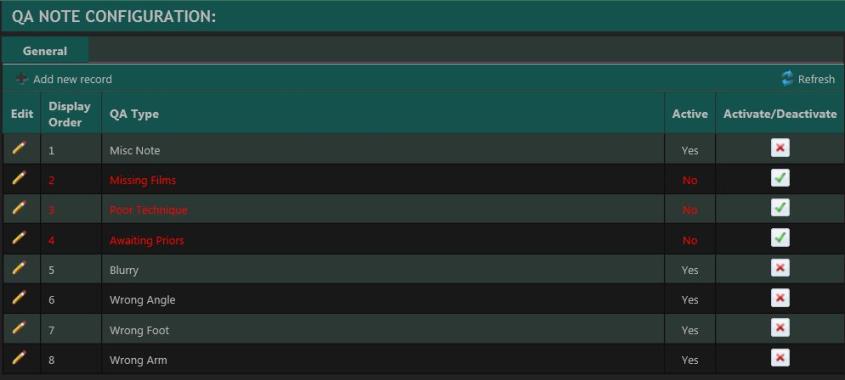
QA Notes Configuration
The QA Notes General tab can be used to create a bank of QA Note category options, which users select from a drop-down menu. Users granted the proper privileges can generate QA Notes managment reports for review.
- Click the Add new record

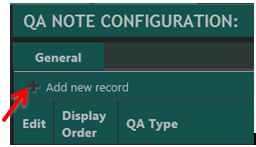 button.
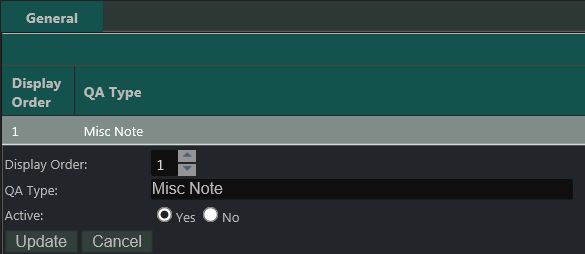
 - Select the sequential order in which the QA Note Type will display in the QA Note list.
Note: The lowest numbered entry becomes the default value, pre-loaded into the QA Notes section.
- Enter a name for the new QA Type (maximum of 100 characters).
- Select Yes as the Active option.
- Click Insert.

- Click the
 icon in the QA Type row.
 - Modify the desired fields.
- Click Update.
The Active column indicates the status of the QA Types (Active - Yes; Inactive - No with the text in the row colored red). In addition, the Activate/Deactivate column displays the appropriate action button (Activate or Deactivate) that can be used to toggle the Active status.
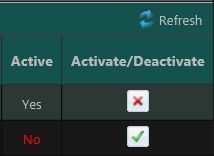
To deactivate an active QA Type, click the ![]() icon. Click OK to the prompt pop-up.
icon. Click OK to the prompt pop-up.
To activate a deactivated QA Type, click the ![]() icon. Click OK to the prompt pop-up.
icon. Click OK to the prompt pop-up.
A user can also edit the QA Type by clicking the ![]() icon in the Finding Type row and selecting the appropriate Active option (Yes or No).
icon in the Finding Type row and selecting the appropriate Active option (Yes or No).